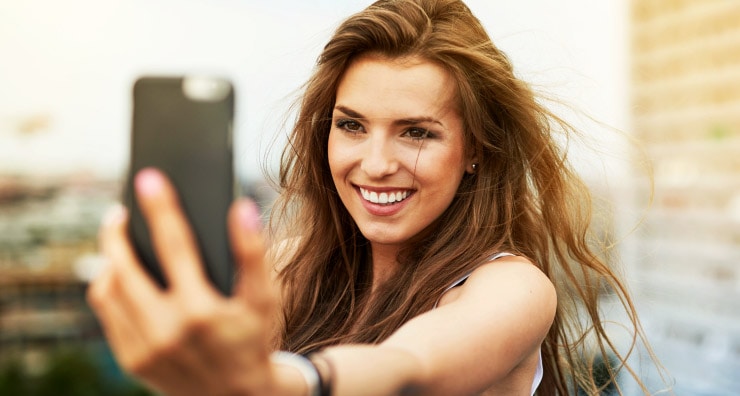
If you’re wondering how to look good in pictures, the way you apply your makeup is key. So stop searching for that perfect angle and focus on bringing out your best features with these six steps to flattering photos.
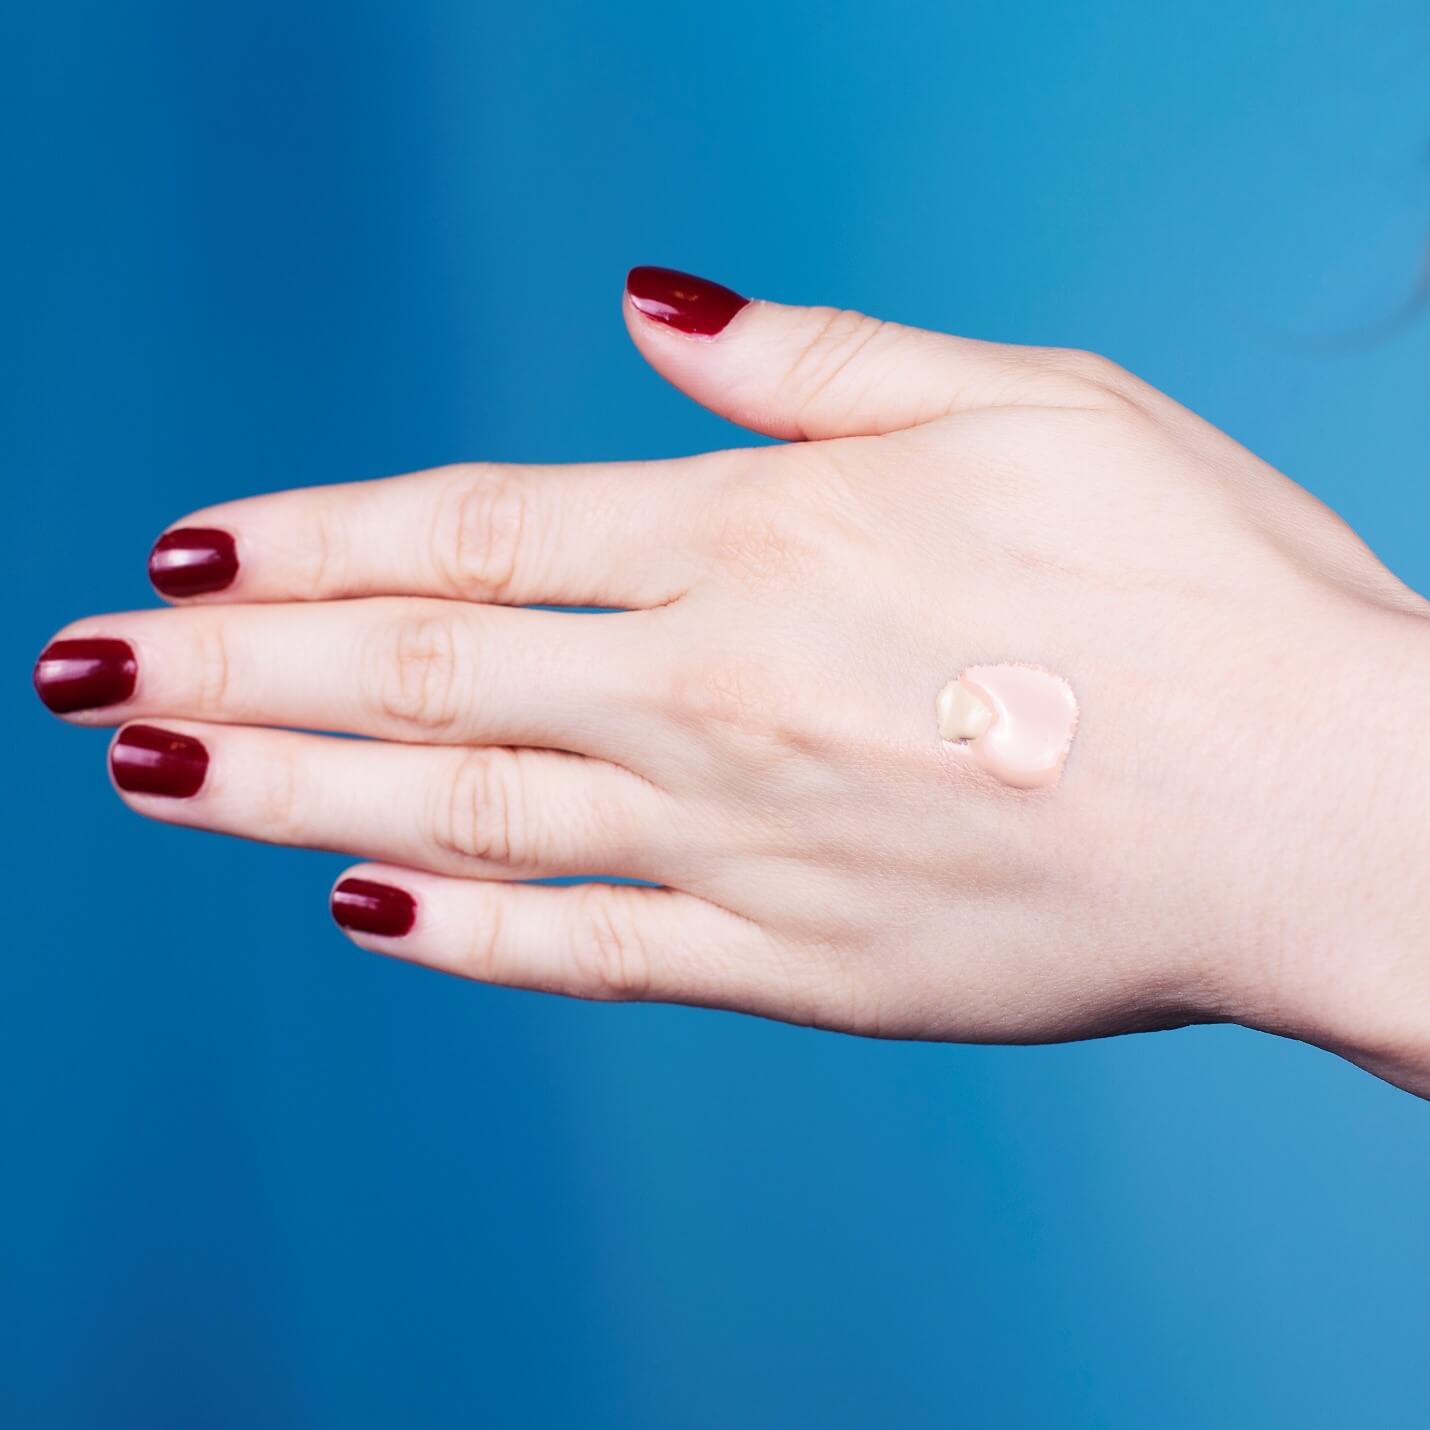
1). Prep and prime.
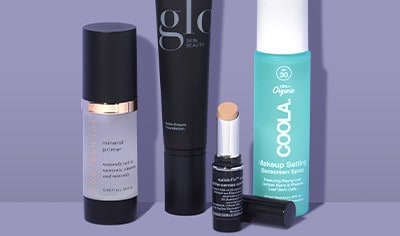
Starting with primer is a great first step for daily makeup application since it helps foundation last all day. It’s especially important before photos. A high-quality, silicone-based primer can help blur the appearance of fine lines, large pores and acne scarring, giving you a smooth, photo-ready finish. It’ll also help you use less foundation and avoid that dreaded cakey look. To really show off your flawless skin, make sure you’re choosing the most flattering light possible for your selfie. Natural, but indirect lighting from a doorway or window is your best bet.
Try: jane iredale Smooth Affair Facial Primer & Brightener

2). Blend, blend, blend some more.
Both camera flashes and certain Instagram filters have an uncanny knack for picking up poorly blended makeup. Ouch! It’s important to blend all face and eye makeup so there are no harsh lines or patches. To avoid under-eyes that appear too bright on camera (like reverse raccoon eyes), one of our favorite tricks is to blend a tiny bit of foundation into concealer. This will help tone it down a bit without canceling out its dark circle-minimizing effects. When you’re ready for your close-up, hold your phone close to your face and slightly above to help streamline your features. Try setting the shutter on a timer to give yourself a few moments to perfect the angle. If you have an iWatch, you can set it on timed shutter and adjust your phone as needed.
Try: stila Aqua Glow Serum Concealer
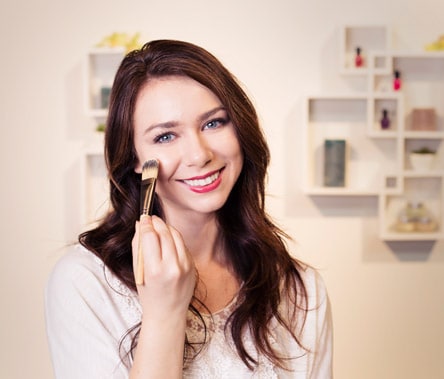
3). Apply a finishing powder.
Translucent finishing powder can help you achieve the closest you’ll come to an airbrushed effect before you start looking for the perfect filter. Once you’ve finished applying all face makeup, including foundation, bronzer, blush and highlighter, lightly buff a loose translucent powder onto skin to set everything and further fill in pores and fine lines. Just be sure to blend well—flashback can make your face look powdery. But remember, even a “just okay” photo with a flaw or two can be turned into a showstopper with the right effects. Experiment with filters, cropping, color saturation and resolution until you’re happy with the results. We love High Dynamic Range (HDR) because it really makes colors pop.
Try: Mirabella Perfecting Powder

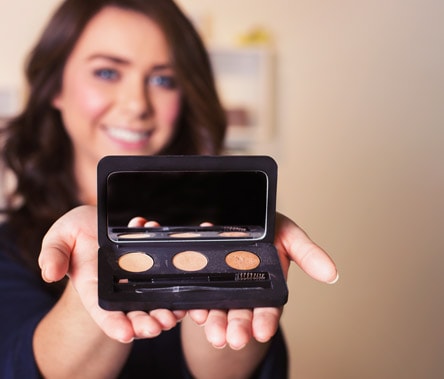
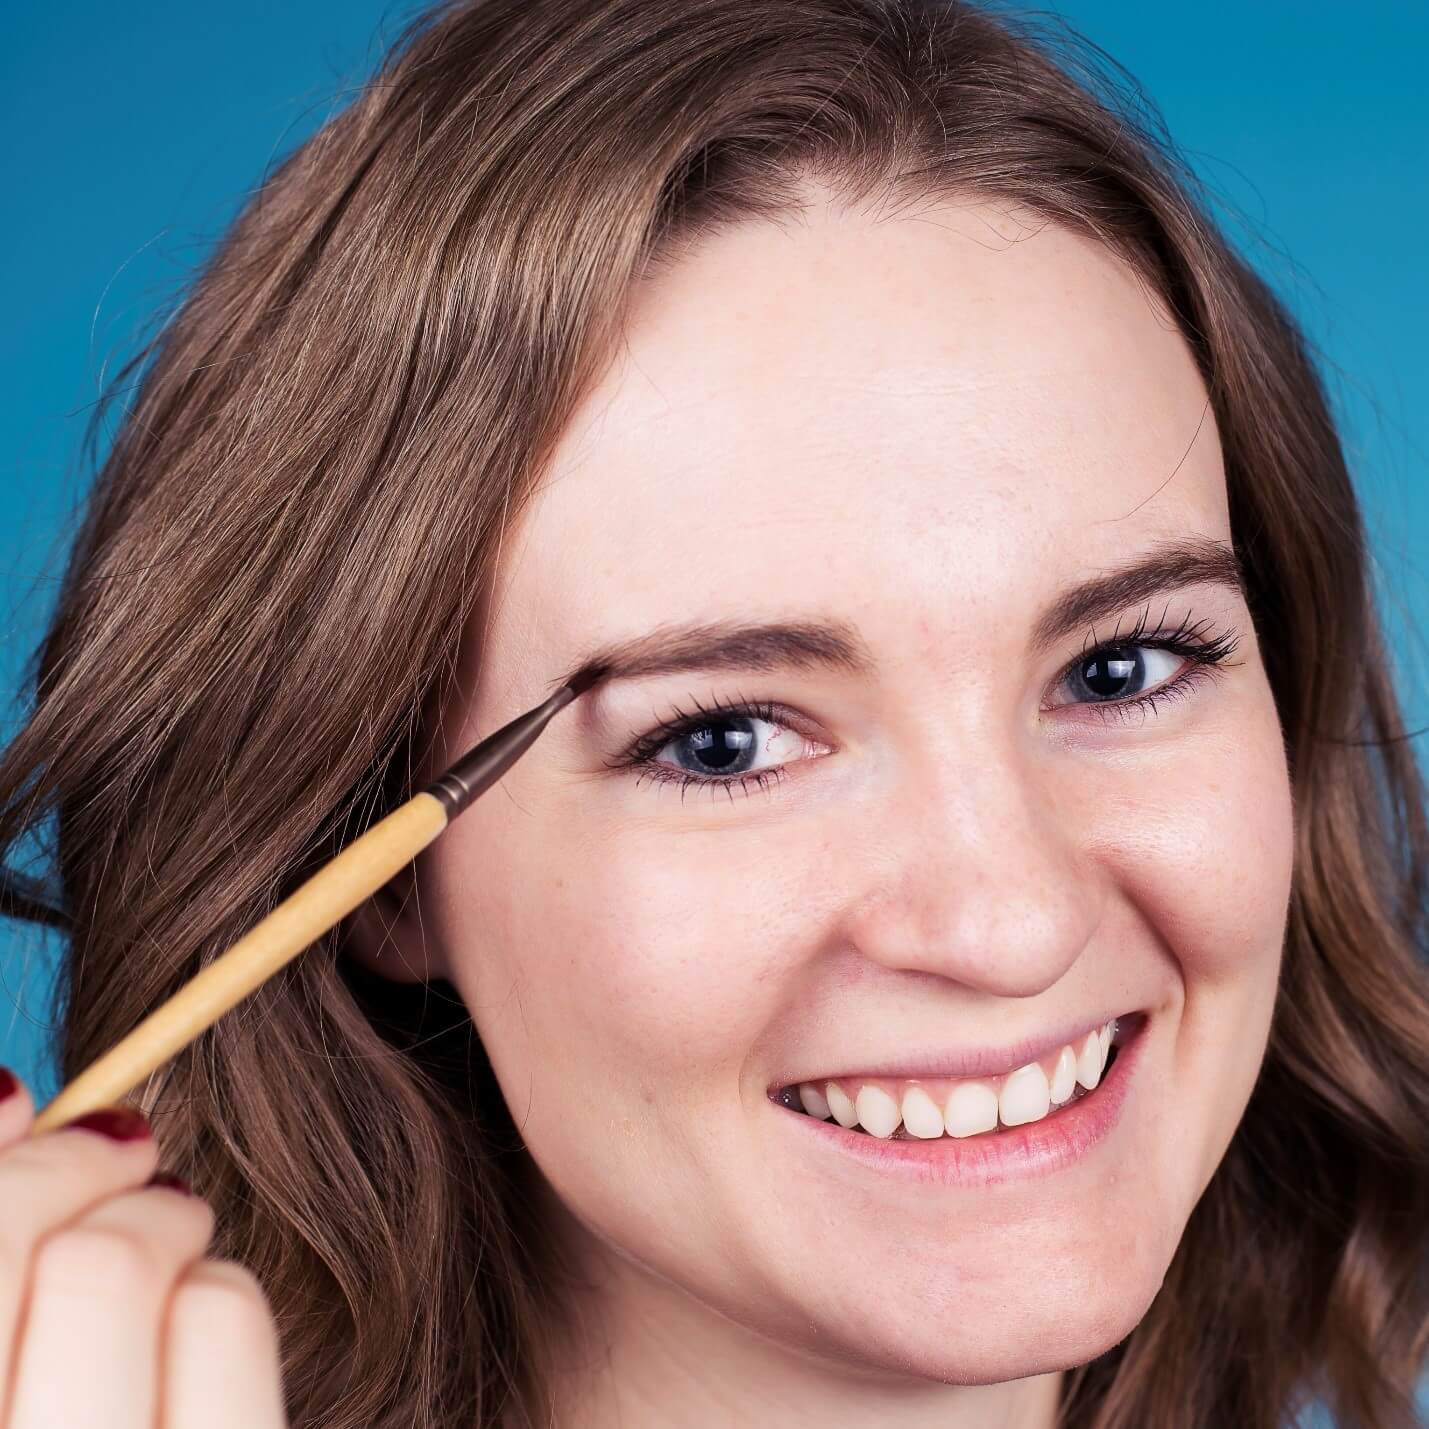
4). Fill in your brows.
If eyes are the windows to the soul, eyebrows are the frames. In pictures, the thinnest parts of the eyebrow at the outer corner, known as the tails, can all but disappear, leaving your look unfinished. To keep your arches looking full and polished, fill them in with an eyebrow pencil, gel or powder. Be sure to blend with a brush for a soft, natural finish. If you’re taking a selfie outdoors, try to stand with the sun directly behind your head. This way, you’ll avoid harsh lighting that washes out your features, including those on-point brows.
Try: glo minerals Precision Brow Pencil
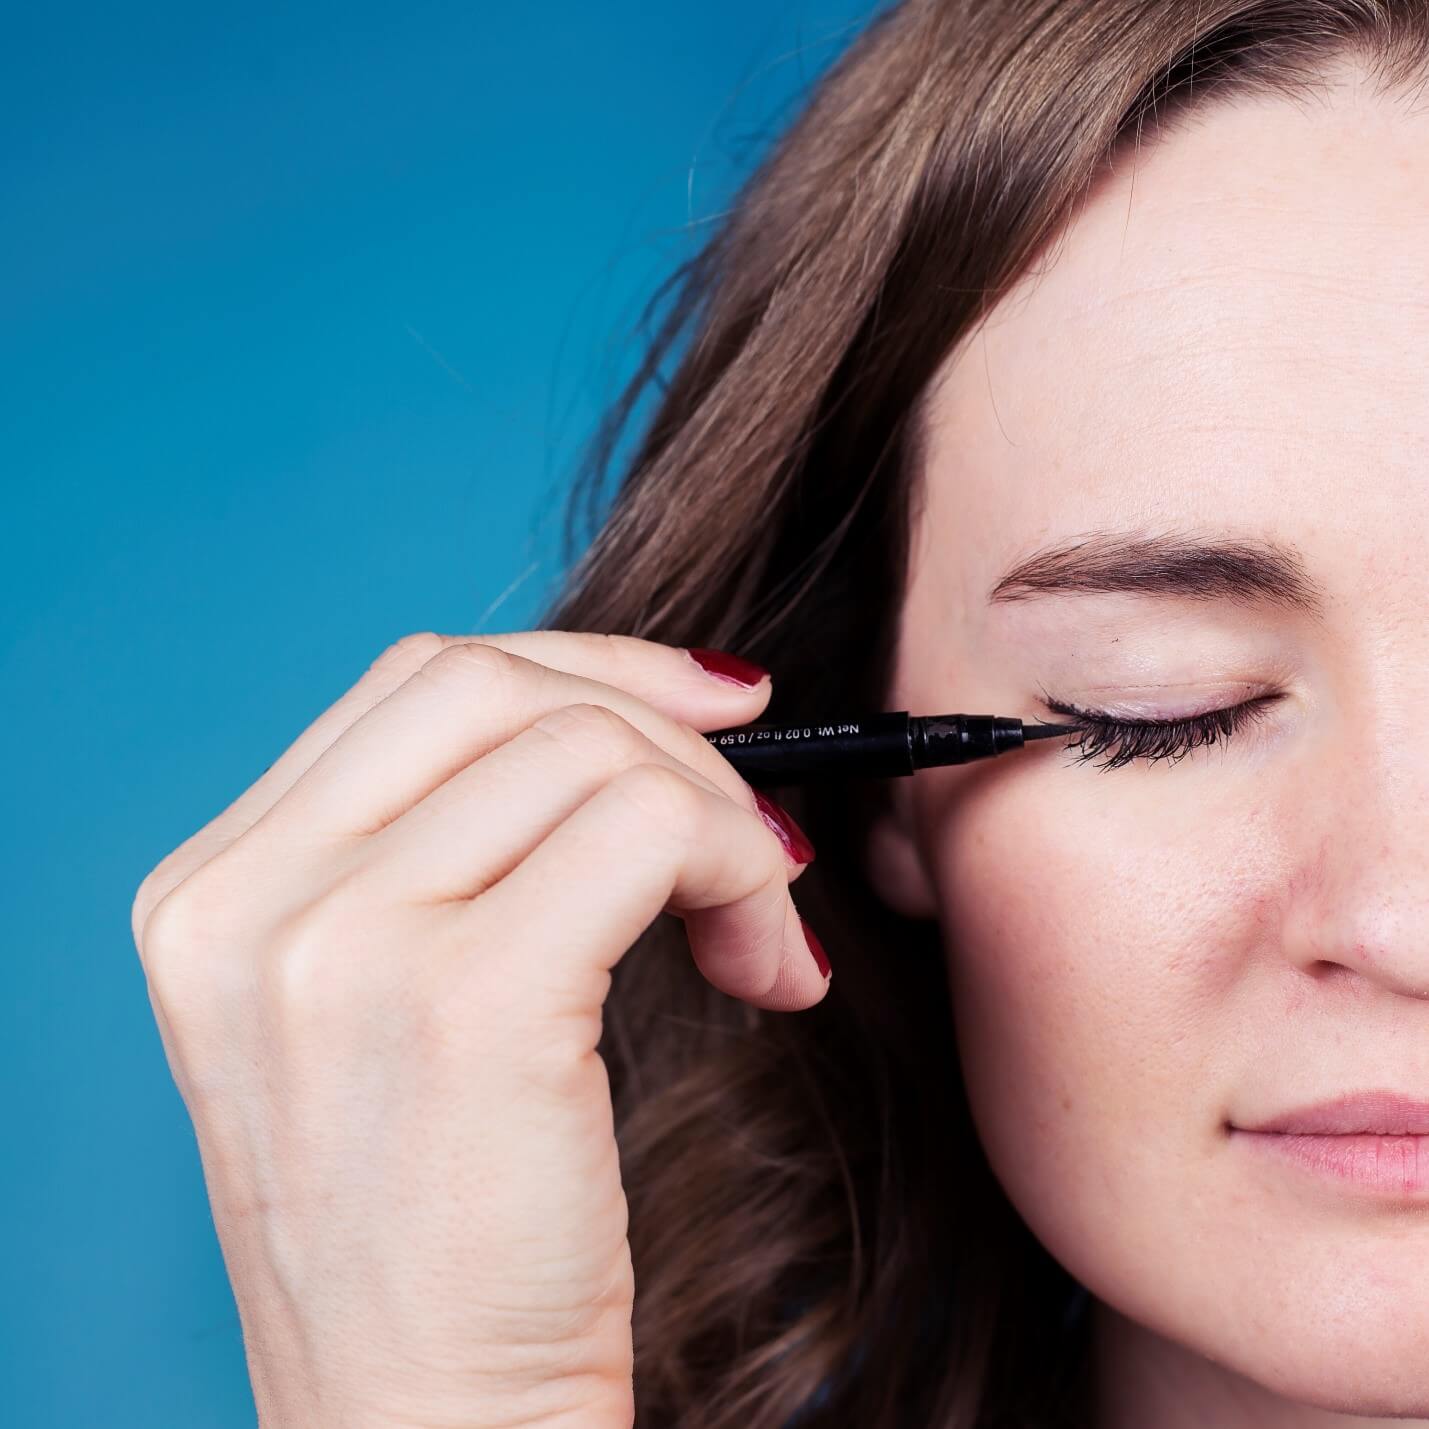
5). Switch to gel or liquid eyeliner.
Eyeliner pencils are perfect for achieving a soft, smoky look. We still recommend them for the bottom lash line, but for the top lash line, try switching to a gel or liquid formula. Gel and liquid eyeliners are highly pigmented, which helps to emphasize eyes, making them appear larger with fuller lashes. As a bonus, they’re also far less likely to run or smudge throughout the day. If you’re going for the classic face-on selfie, it’s important to always look at the camera lens itself, not the camera screen where you can see yourself. This way your eyes will be looking straight ahead and your photo will be that much more engaging for your followers.
Try: Youngblood Eye-Mazing Liquid Liner Pen in Noir
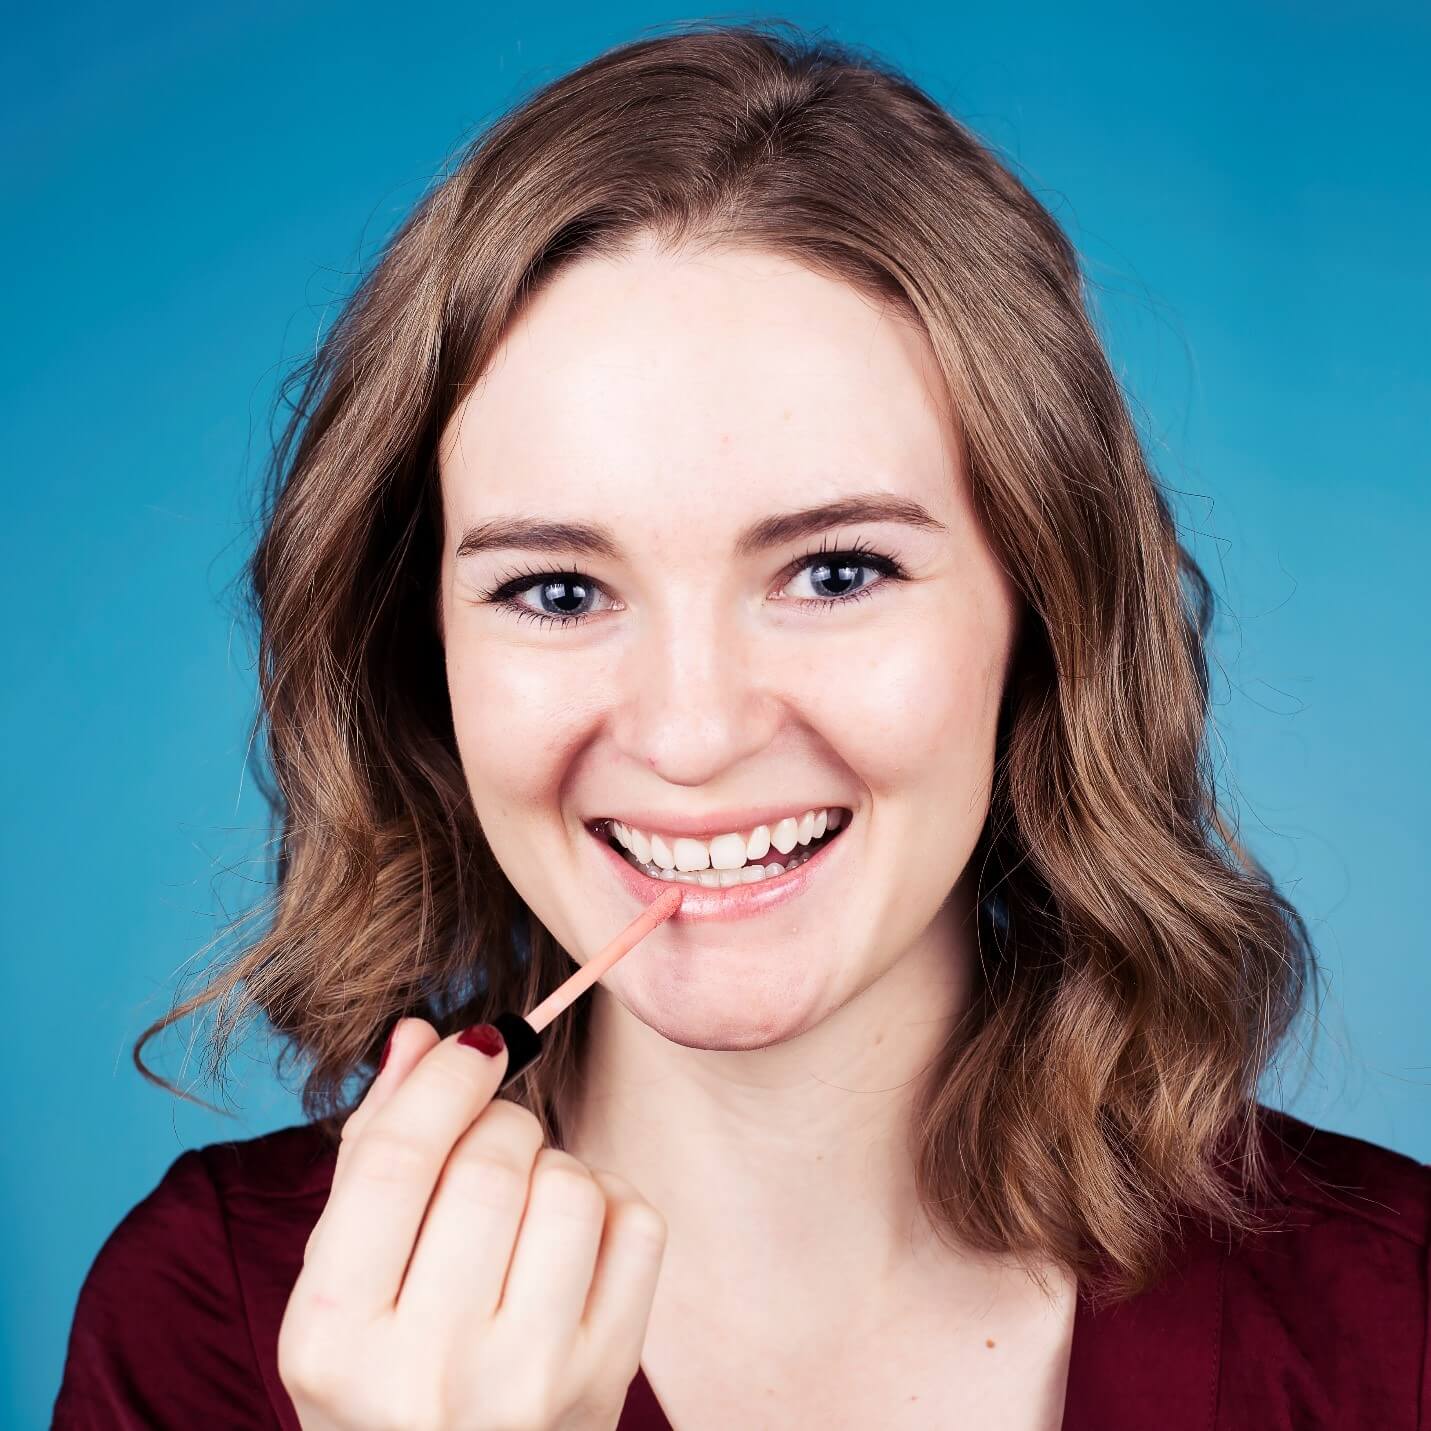
6). Pick a cool-toned lip color.
We love our burgundy browns, corals and nudes, but they aren’t always the best choice for pictures. Warm-toned lip colors tend to pick up yellow tones in the teeth, making your smile look less than dazzling. Cool-toned shades, like rosy pinks, beiges and deep, blue-based reds can have just the opposite effect, making teeth appear whiter and brighter. Line your lips in a shade similar to your natural lips, then apply your favorite cool lip color to really make your smile pop. Be yourself! Selfies are supposed to be a fun way to boost your confidence, so let your personality shine.
Try: Youngblood Lipgloss in Devotion
Will you try these makeup tips for pictures? Let us know in the comments below, or tell us on Facebook, Twitter or Instagram using #LovelySkin!
Shop this blog


About the Author
Stepha is a copywriter at LovelySkin. She loves poetry, baking and experimenting with new makeup.
Other Posts by StephaDoes Sweat Cause Acne? 6 Reasons You're ...
Quick and Easy St. Patrick's Day Makeup
Follow us on social
Follow us on social networks and be one of the first to learn about sales, giveaways, and free samples