Bronzer Face Makeup Tutorial for Beginners
LovelySkin Content Manager Jill and Site Merchandiser Meg are here to give you a beginner's guide on how to apply bronzer.

Video Summary
LovelySkin Content Manager Jill and Site Merchandiser Meg are here to provide you with a beginner’s guide on how to apply bronzer.
While Jill shows off a sculpted, bronzed look, Meg creates a more natural, sun-kissed look. Want to try both to see which bronze face makeup you prefer? You’re in luck because they’re using the same products for both looks in this bronze face makeup tutorial.
How to apply bronzer
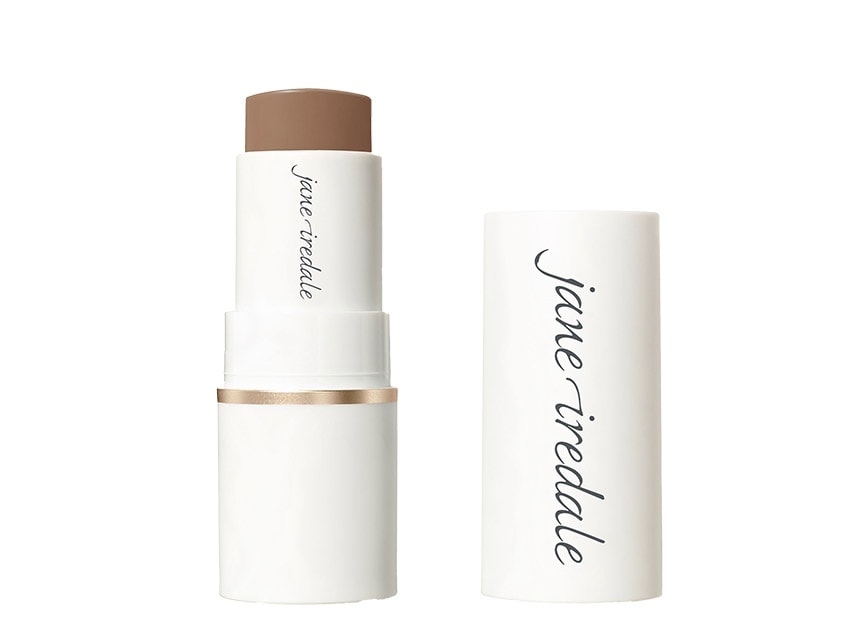
Jill and Meg start with bases of tinted sunscreen and CC cream respectively before using the creamy, blendable and buildable jane iredale Glow Time Bronzer Stick in Scorch. What’s great about jane iredale formulations is they contain skin-loving ingredients. In this case, it’s jojoba oil for extra hydration.
When it comes to where to put bronzer for more of a contouring technique, Jill applies the bronzer stick to the high points of her forehead, the apples of her cheeks, the sides of her nose, each side of her jawline and the center of her neck.
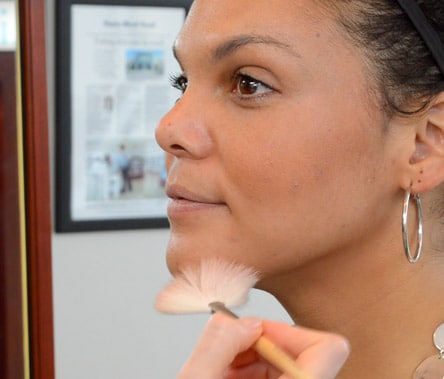
As for where to apply bronzer for a more all-over, blurred sun-kissed look, Meg applies bronze face makeup to the top points of her cheeks, just below the bridge of her nose, and the top of her forehead.
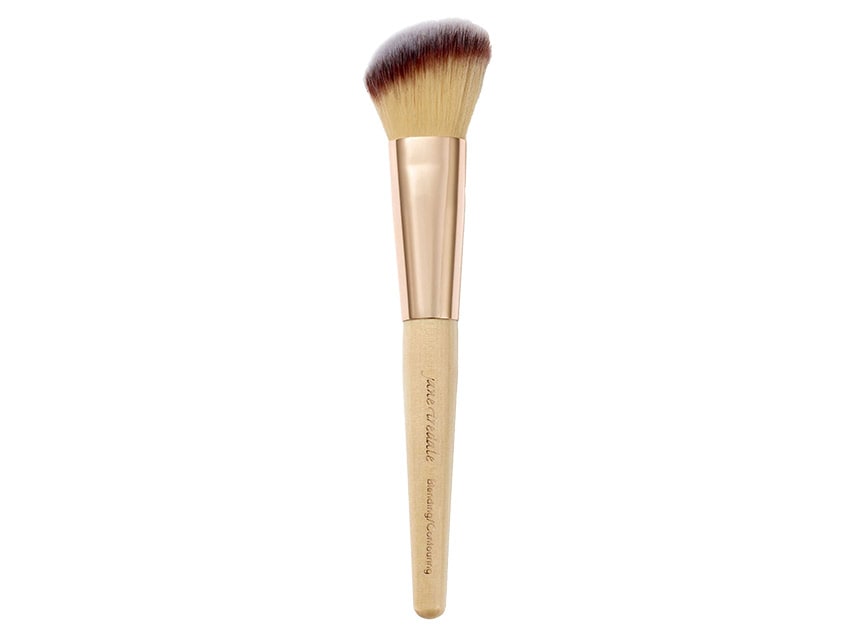
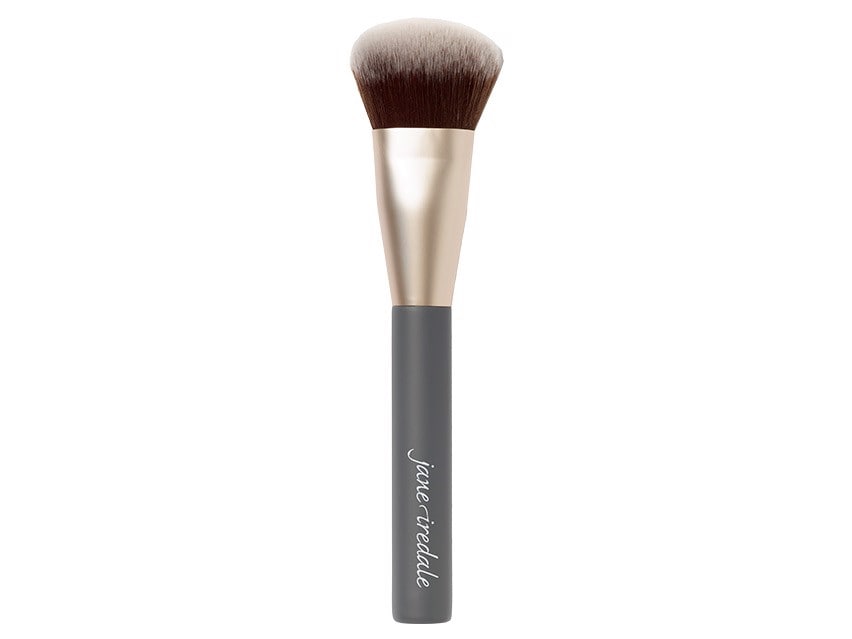
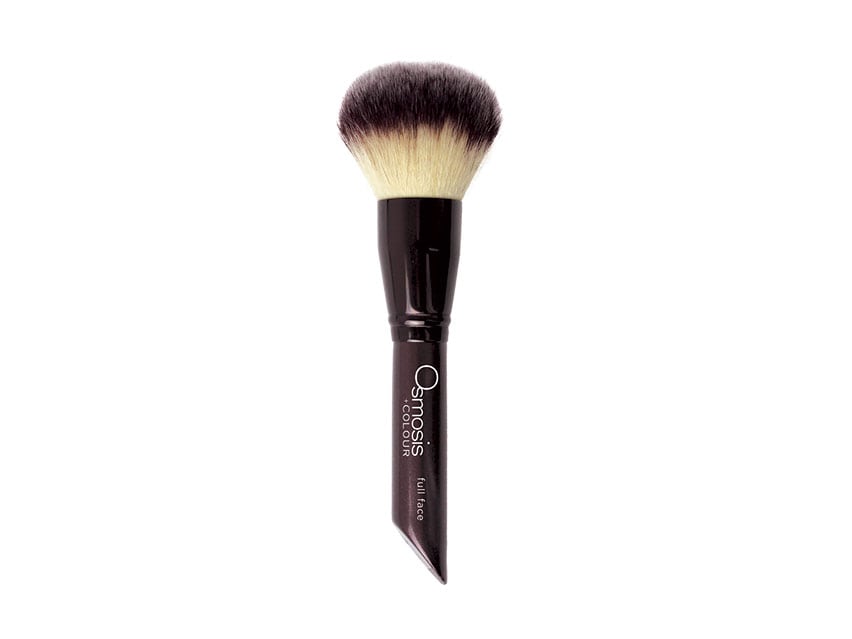
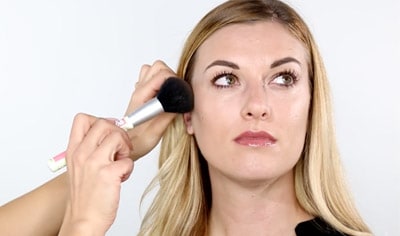
Now, Jill chooses to blend with a contour brush, like the jane iredale Rose Gold Blending/Contouring Brush. Meg, on the other hand, opts for the Osmosis Colour Full Face Brush.
If you’re looking to add a little more color to your bronze look makeup, follow Meg’s recommendation of grabbing a powder bronzer, such as the Glo Skin Beauty Powder Bronzer. With just a bit of powder on her brush, she lightly sweeps over the same application points as before. Unlike some formulations, these cream and powder bronzers layer beautifully.
Next, they add a highlighter with the RMS Beauty Luminizer in Living Luminizer. Also a cream formula, this highlighter sports a satin finish with a bit of a shimmer while still looking natural. To apply their highlighter, they simply use their fingers for the most control. They apply it to their cheeks, the bridge of their noses, chins and Cupid’s bows for a gorgeous glow. You can even apply it to your brow arch or inner eyes for an extra pop. As an added benefit, it also feels hydrating and dewy throughout application.
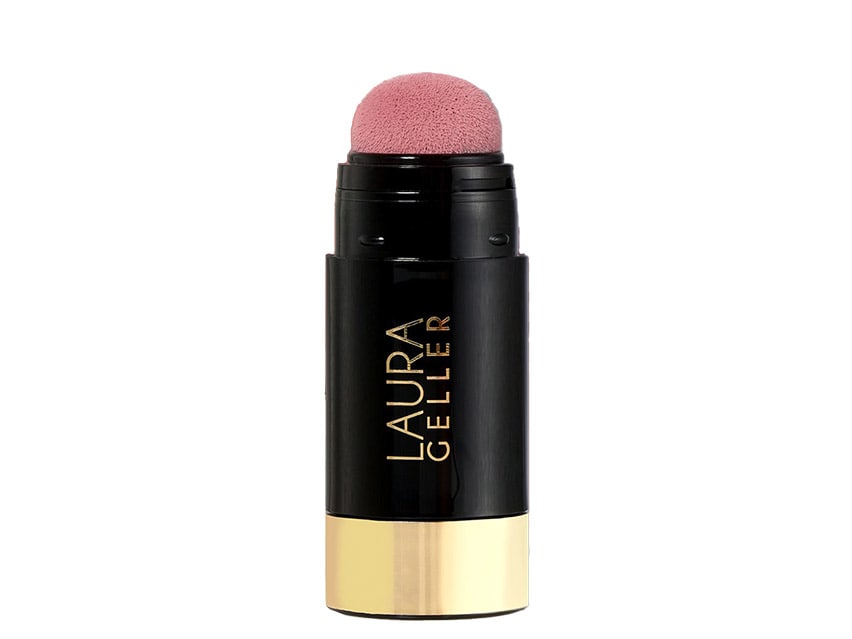
For the finishing touches on their bronze face makeup, they’re add a bit of blush with the Laura Geller Serum Blush Cheek Tint in Practical Pink. Its hydrating serum texture makes it the perfect companion to the Glow Time Bronzer Stick’s cream formula.
Pro Tip: When using the Laura Geller Serum Blush Cheek Tint, you’ll want to prime it first. This brings the formula up and into the sponge. Once you see it in the sponge, it’s ready for application.
Meg dabs the blush on her cheekbones and nose, while Jill applies it to the apples of her cheeks. All that’s left to do is blend using your fingers.
There you have the final looks! You can see how these versatile products can be used for two different approaches to bronze face makeup.
Let us know which look you’re going to try in the comments below, and subscribe to the LovelySkin YouTube channel for more tutorials and education.
Shop This Video
5 products

Product no longer available
Back to original
Product no longer available
Back to original
Product no longer available


Comments