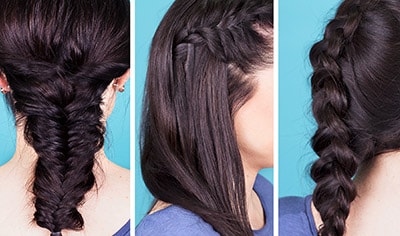
With temperatures reaching record highs across the globe, it has been tough to stick with a tried and true, everyday hairstyle. While a high ponytail may be sleek, it’s not necessarily for everyone, so we’re here to share our favorite ways to shake up your style and beat the heat! Stay ahead of the weather and keep hair off your neck with a fun updo featuring braids and accessories.
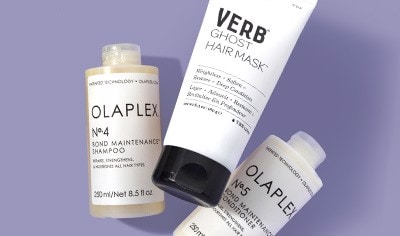
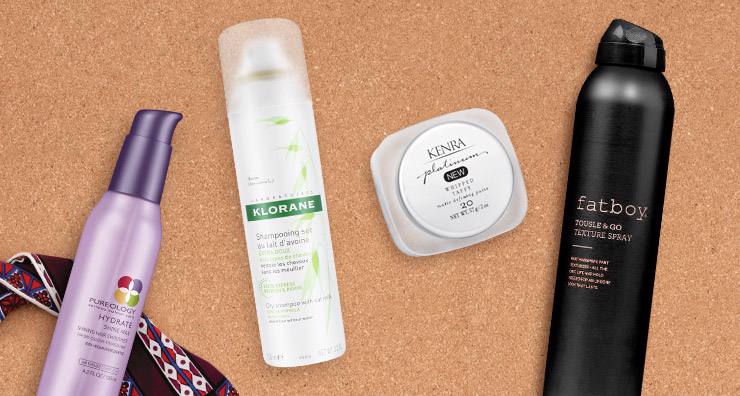
Step up your style game with products we used for our braid hair tutorial
Who said the same products can’t be used on all hair lengths? Whether you underwent a big change and chopped off some inches or you’re in a household with more than one head of hair, we understand the importance of keeping styles fun and fresh without breaking the bank. Check out the products we used to create beautiful, salon-style braids on both short and long hair!
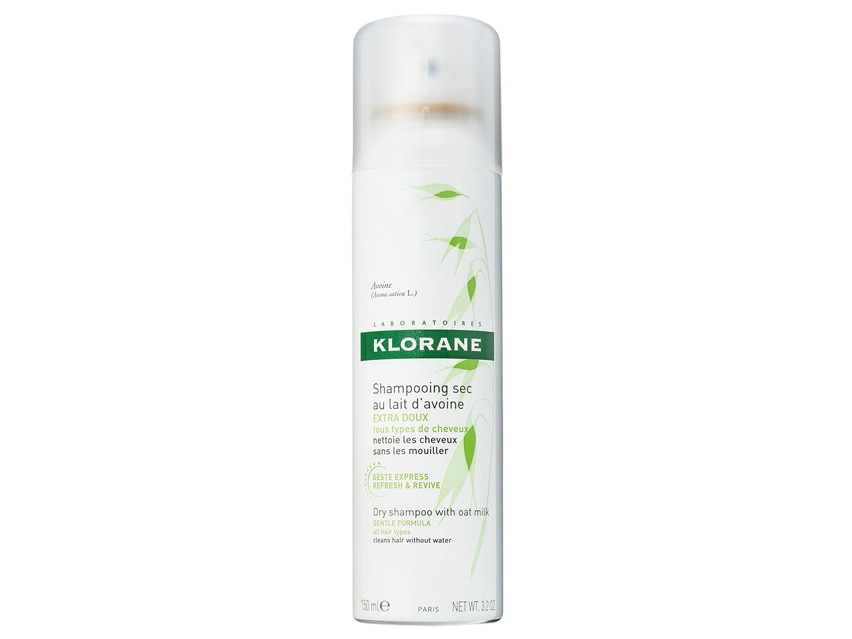
Klorane Dry Shampoo with Oat Milk – Aerosol: Not just for absorbing oil, this oat milk-enriched dry shampoo can be used to add volume and grit at the roots in addition to protecting and nourishing hair. Toss it in a bag to refresh your style throughout the day!
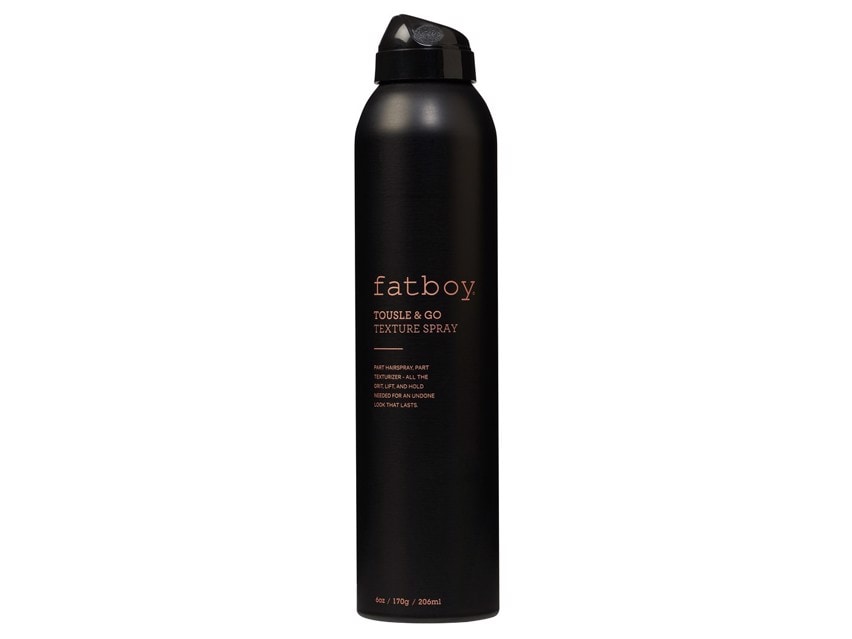
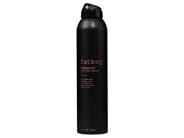
Fatboy Tousle & Go Texture Spray: This body-boosting texture spray is perfect for braids because it creates grit, so they don’t fray throughout the day! Additionally, aloe and zeolite work to absorb excess oils to keep your style looking fresh.
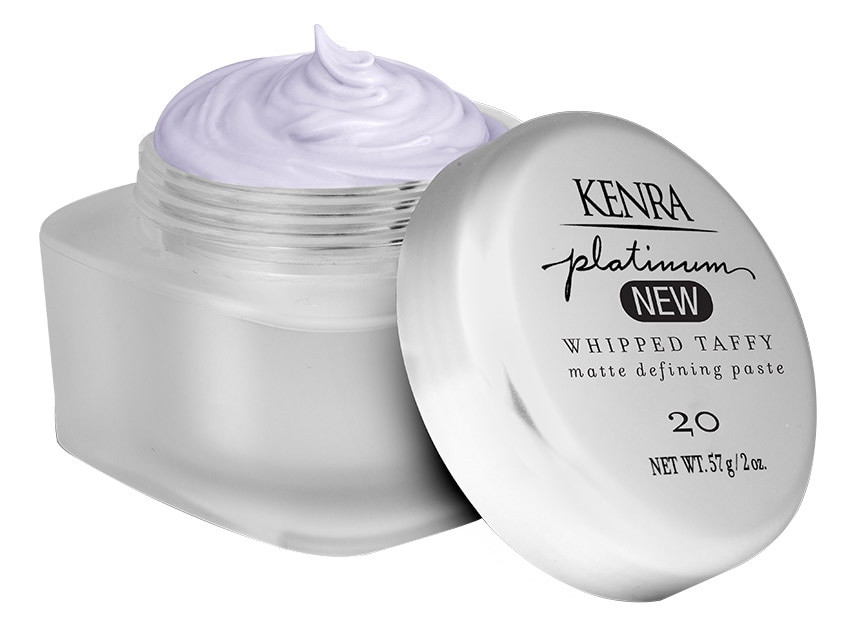
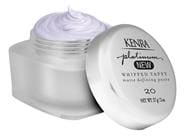
Kenra Professional Platinum Whipped Taffy 20: Let’s face it, braids need control. This ultra-matte, firm hold whipped formula provides style memory on dry or damp hair for a look that stays where it’s meant to be.
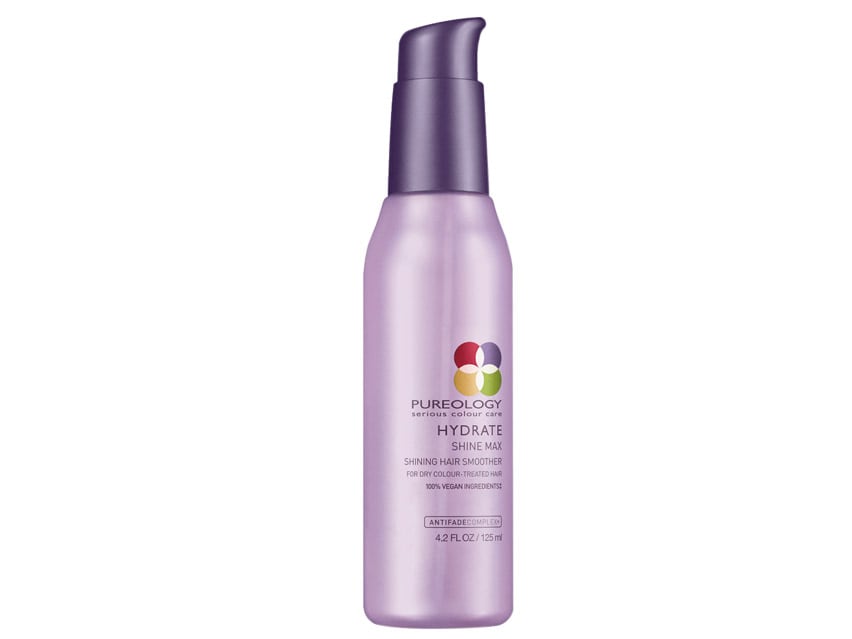
Pureology Hydrate Shine Max Weightless Flyaway Serum: Say goodbye to frizz and flyaways! This high-shine, weightless hydrating serum works to soften and hydrate dry strands while adding shine and taming frizz.
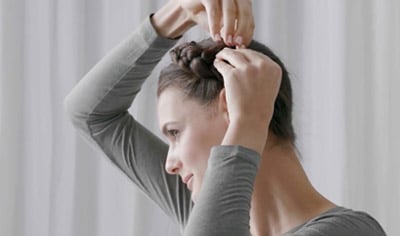
If your hair is above your shoulders, check out Jenna’s braid for short hair:
Braiding short hair can be somewhat of a challenge, but the key is to work smarter, not harder! We decided to try a halo braid on Jenna and added a fun, flirty headband to switch it up.

Step 1: Begin with a dry shampoo at the base of the hair and work it in. This will create volume and grit, so your style can stay where it’s meant to!
Step 2: Braid one small section of hair on each side, finishing at the base of the neck and securing with a pin or band. We chose a classic French braid style, but feel free to use any braid you’d like!
Step 3: At this point, flyaways and frizz may be more apparent. Add a few drops of shine serum to your hands and work them into any areas that need to be tamed.
Step 4: It’s time to accessorize! We chose a lightweight tie-band with a funky pattern to spice up Jenna’s look. Simply tuck it just beneath the braid near the temples of the face and secure it in the back by tying or pinning it in place.
Step 5: If you’ve got bangs, you know that heat and hair don’t really mix. Adding a flexible gel or taffy to your bangs at this point will ensure strands stay in place (and off your face). Simply twist them together and tuck them beneath the headband, and you’re finished!

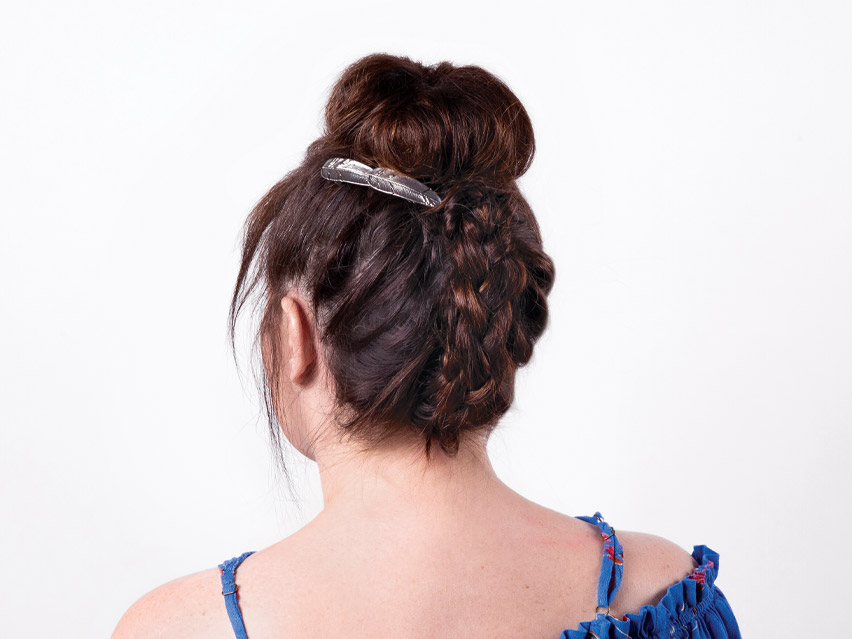
If your hair is past your shoulders, check out Carolyn’s braid for long hair:
Long hair and braids go hand in hand. That’s why, for Carolyn’s style, we chose to shake it up a bit and do it upside down! Then, we finished with a cute pin to add a little flair.

Step 1: Start by applying a dry shampoo at the roots and working it in. This is essential because it will keep your look from falling flat throughout the day!
Step 2: Flip hair upside down and give it a once-over with a texture spray to ensure braids stay in their place. Then, separate hair horizontally into two sections, securing the top half with a ponytail. Starting at the base of the neck, begin a French braid using the lower section and work up to the middle of the scalp, securing with a band once complete.
Step 3: On the half that isn’t braided, work a few drops of a hair serum through, concentrating on mid shafts. This will tame any frizz or flyways before the style is complete.
Step 4: Now that the bottom half of the hair is complete, it’s time to put it all together! Brush the top half of the hair into a high ponytail, carefully adding the French braided section.
Step 5: Grab a one inch section of the ponytail, starting in the front, and roll the hair around your fingers. Once you reach the base of the ponytail, pin the section down. Continue until all loose hair is in place and you are happy with the shape of your bun.
Step 6: For bangs and fallout, add a small amount of flexible gel or taffy to create piecey texture that frames the face. Finish with a fun accessory at the base of the bun!
Looking for more ways to shake up your braid? Watch this hair tutorial on our YouTube Channel!
Shop this blog

About the Author
Ashley is a Digital Content Specialist at LovelySkin with a passion for non-fiction and poetry writing. In her spare time, she enjoys trying new lip products, spoiling her pets, going to concerts, and reading.
Other Posts by AshleyTen of the Best Skin Care Products You P...
Ways a Finer Man can Achieve Thicker-Loo...
Follow us on social
Follow us on social networks and be one of the first to learn about sales, giveaways, and free samples